I read a post by Bhagpuss in my Blaugust feed regarding the steps he went through to create an image of a book representing Krikket‘s invaluable primer. Bhagpuss’ words are an interesting read delving as they do into the pros and cons of AI versus manual image creation. It got me thinking…
…Thinking much simpler thoughts about my own basic process for creating header images for my blog posts.
My header creation process
First I feel obligated to answer the question: why do I bother with header images at all? They are also called “featured” images in WordPress, and I don’t always have them. But my main reason for inclusion of some sort of graphic boils down to how their absence makes my blog posts look… empty. I can’t explain it much more clearly than that, but to my eyes a post without an image just looks wrong, especially when shared in summary form via social media.
I understand also that images in posts attract readers to click through. I’m less concerned about this to be honest, so mostly the whole header image thing is something to do with my own sense of what looks right and good.
Step #1: pick a source image
Sometimes I select an image that is already part of my post and just edit it for use as a header. Other times I search online using Google search for a suitable image. I find such searches to be increasingly frustrating due to the proliferation of copyrighted images and the use of watermarking- I get protecting your rights is a thing, but I lack the revenue to pay for images and the watermarks make me feel (justifiably) like a thief.
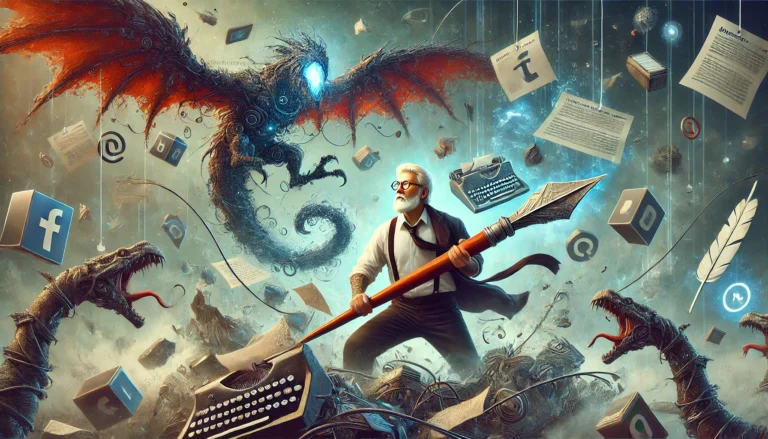
Probably most commonly these days I resort to using ChatGPT to get my source image based on a simple word prompt. The word prompt for the image on this post that I used was:
create a single panel comic book style image of an older red-haired man working to create header images for his blog
I’m not sure why ChatGPT made him look like a mage, but it could be because I have a separate chat in progress where all the images are of a mage. Or maybe ChatGPT just thinks I’m magical- anything is possible these days.
If everything is perfectly aligned the source image will be close in dimensions to the ideal size for a header on this site of 1920×600. If not then more work needs to be done in the following steps
Step #2 Crop and resize
This is where the image is made suitable for header use. The closer I can get the image to 1920×600 without resizing the less distorted it will look.
I use a combination of macOS Preview and Pixelmator Pro to edit the image. Pixelmator Pro is much better at image resizing than Preview. Its super-resolution algorithm can even do a good job if the aspect ratio changes pretty significantly. It still ends up rendering character images as too “fat” if I’m not careful with the proportions.
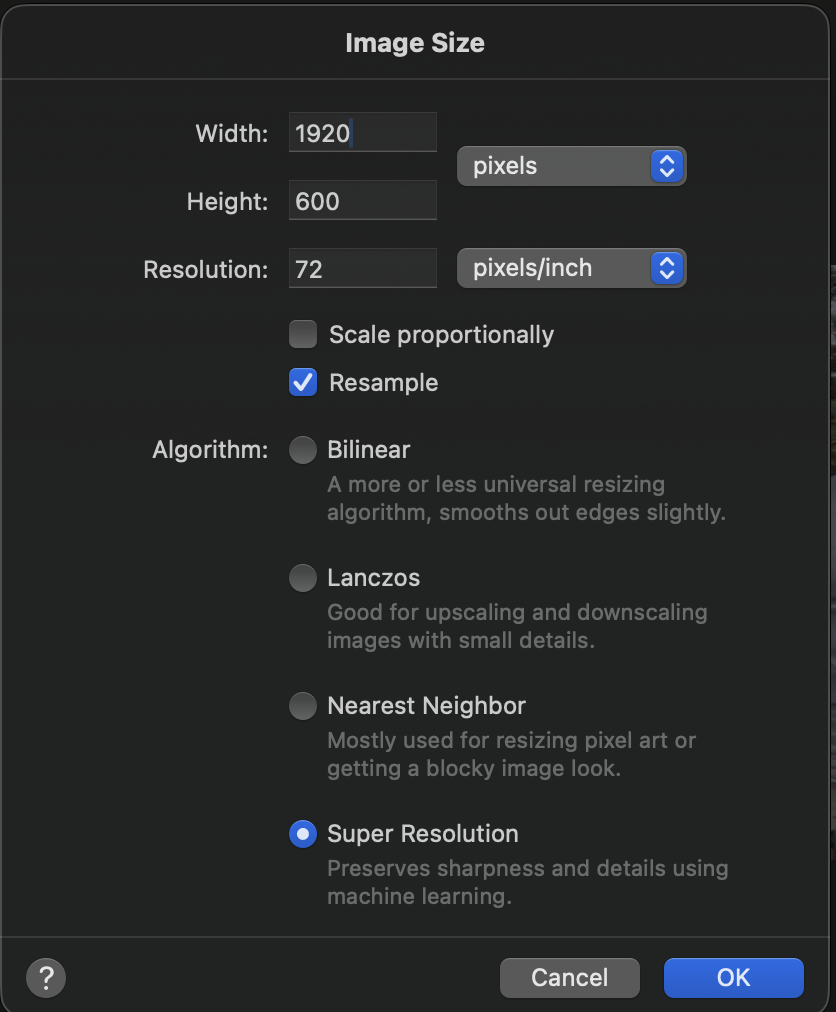
For actual editing at the level I do it i.e. doing things like adding some text or a couple of arrows to the image, I often find macOS Preview is just easier to use. Pixelmator Pro is definitely more powerful, but my lack of familiarity with it slows me down for the simple kinds of things I most often want to do when editing.
Save for web (webp)
I use the File=> Export for Web feature in Pixelmator Pro if that is the editor I’m using. This defaults to saving the images in webP format which, to be honest, I’m only marginally familiar with. I understand it is an efficient format for image delivery on the web, but beyond that I’m not sure why I would use webP versus say JPEG or TIFF format.
Conclusion
I don’t create images from scratch. Instead I use what is available out there, including the use of AI image generation, to produce the header images my blog uses. I use relatively simple inexpensive tools for editing in the form of macOS Preview and Pixelmator Pro to perform basic image sizing and format changes. The end result is the realization of an attempt on my part to satisfy my own perception that blog posts should have images associated with them, a perception that is by no means universal.
The header image for this post was AI generated using ChatGPT